
1. Access the Virtual Campus and click on the icon on the home page. The portal will open in a new window.
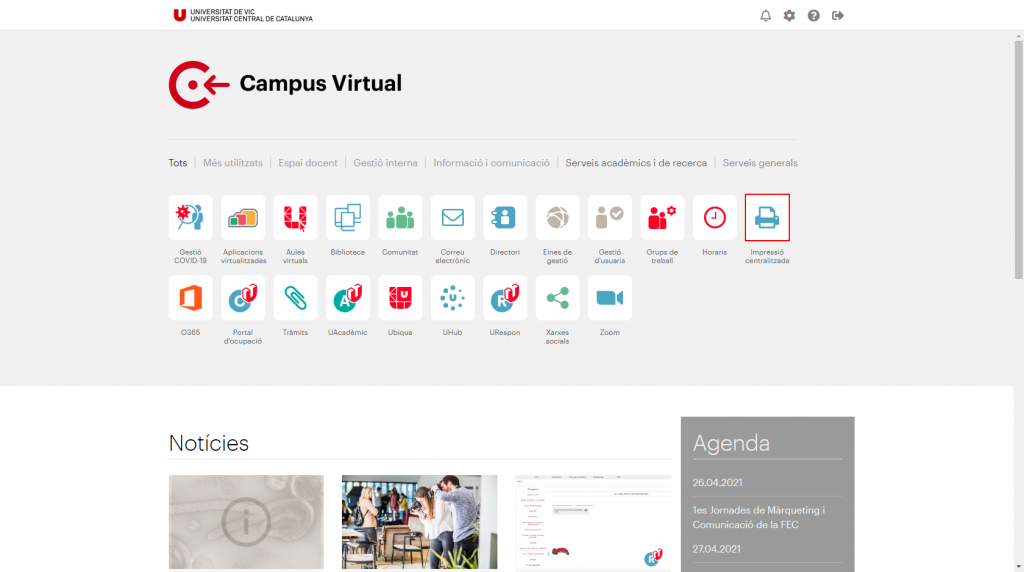
2. Enter your Campus credentials (NIUV+password or email+password).
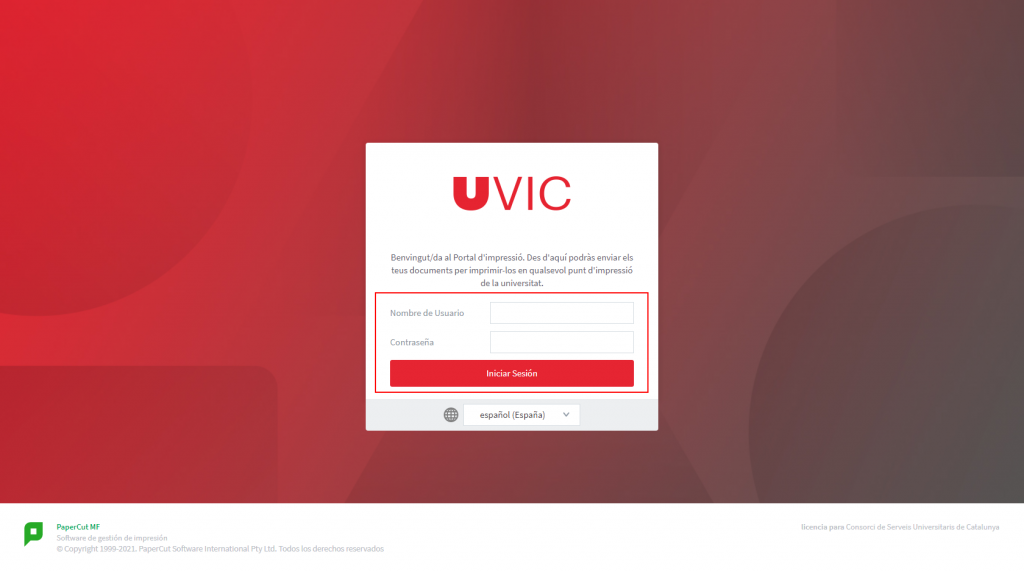
With this functionality only PDF files can be printed.
1. Access to the “Printing Portal”.
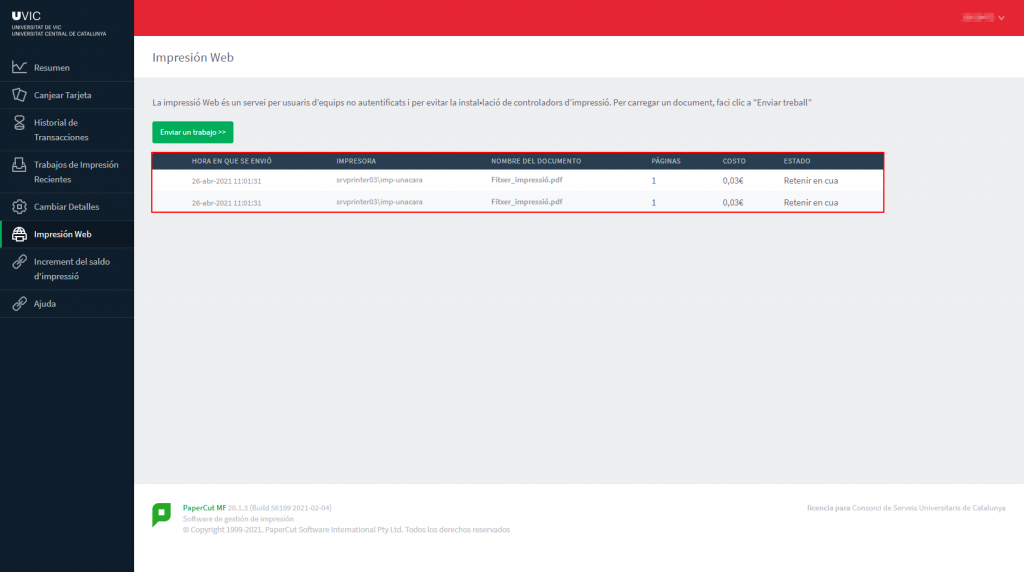
2. Select the option “Web Print > Send a job”.

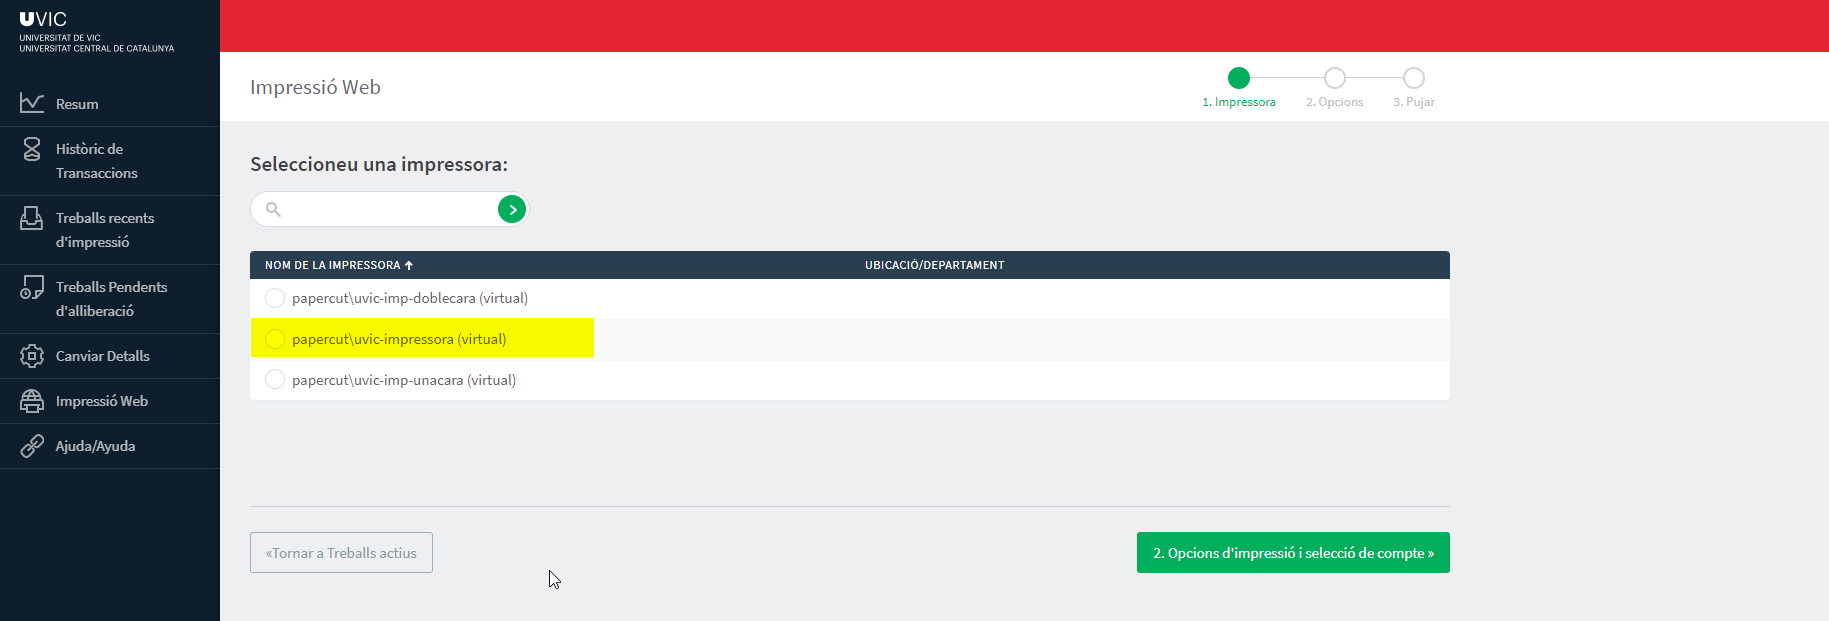
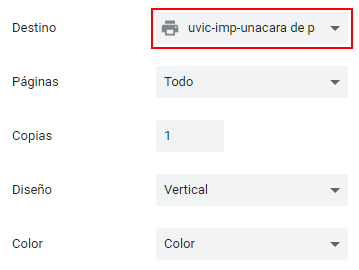
3. Select the printer “papercut\uvic-impressora (virtual)” and click on “Printing options and account selection”.
4. Select the number of copies and click on “Upload document”.

5. Drag the PDF files into the box or click “Upload from computer” and select the PDF file. Click “Upload and Complete”.

Once submitted, it will be held in the queue. You have 24 hours to pick it up at any of the UVic Campus printers. Consult the “Quick guide” to activate printing.
This feature will allow you to print PDF files only by sending an email from your UVic’s e-mail. Only one copy will be printed, unless you send several documents, and it will be printed double-sided and in black and white. In order to print the document in this way, please send an e-mail with the PDF document attached to uvic-impressora@uvic.cat.
1. Access to the “Printing Portal”
2. Select “Change Details”

The current number is the identifier to access the printers. If you want to change it, click on “Generate number”.
1. Access to the “Printing Portal”
2. When you log in you will see a summary of your account status

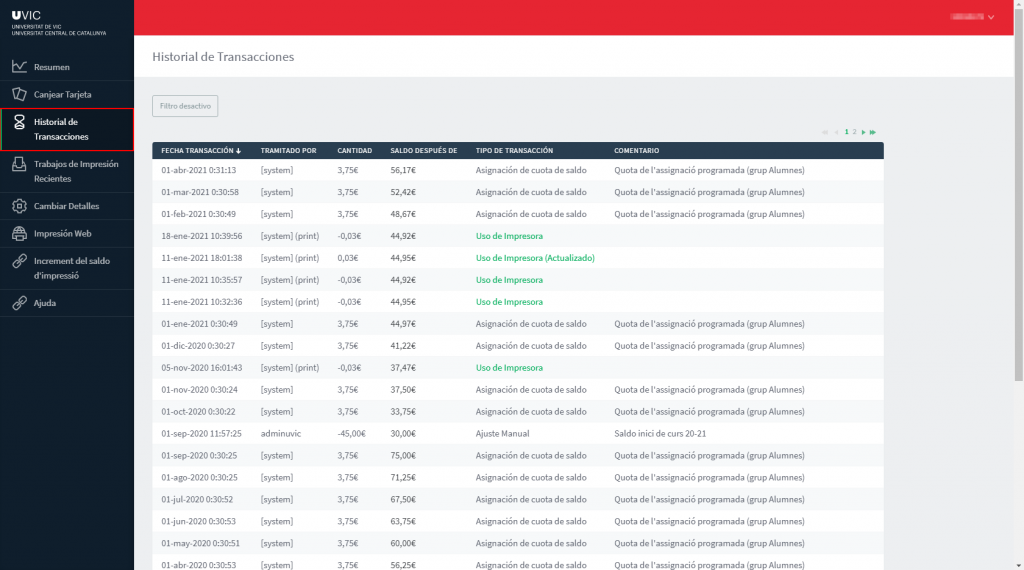
3. Click on “Transaction history” to consult the printing quota
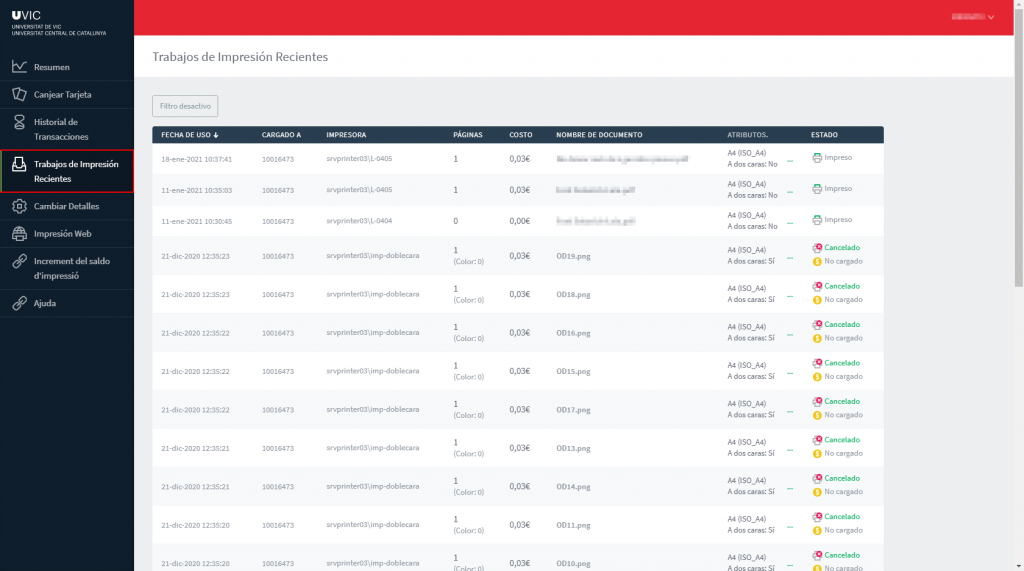
4. Click on “Recent Print Jobs” to see a summary of the printings
1. Open a folder and write in the address bar \\papercut.uvic.cat\uvic-impressora
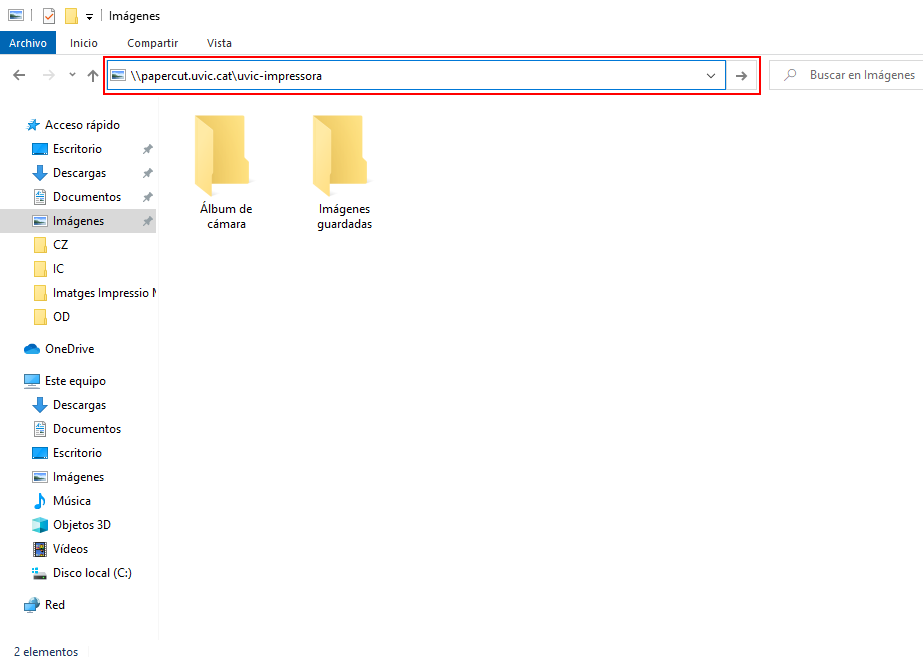
2. You will be asked for your Virtual Campus credentials, enter them and you will have the printer installed
3. Now when you want to print a document you just have to open it and send it to the printer of your choice
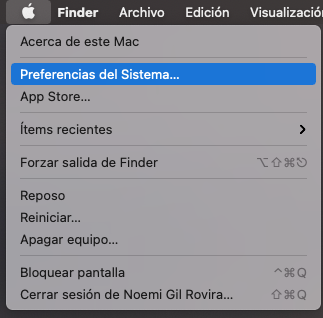
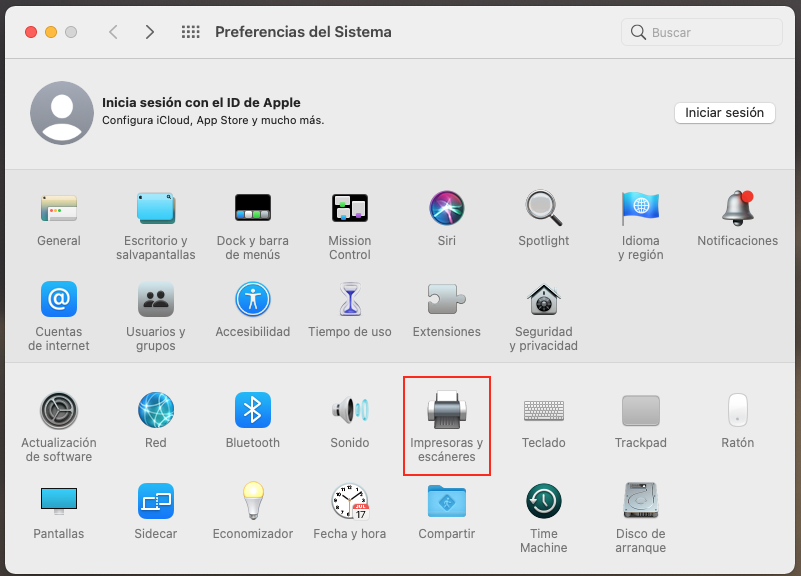
1. Open System Preferences and choose Printers and scanners
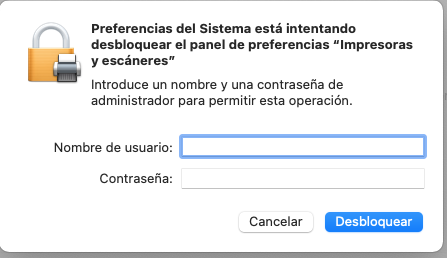
2. If a lock appears, click on it and enter your device credentials. If not, you can go directly to step 3

3. Click on the plus (+)

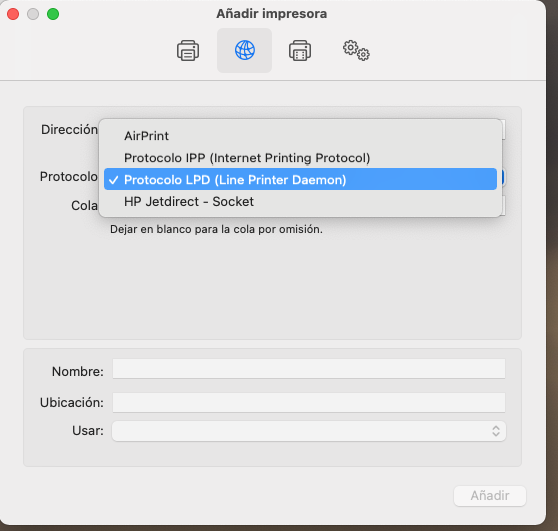
4. You will see these icons at the top, click on the highlighted one in the image (circle)
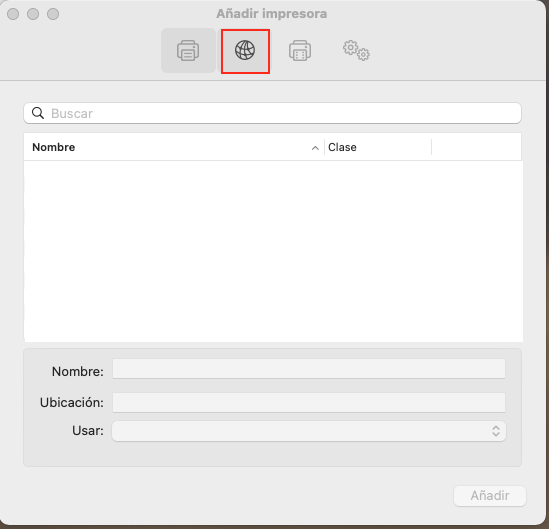
5. In the “Protocol” option choose “Protocolo LPD (Line Printer Daemon)”
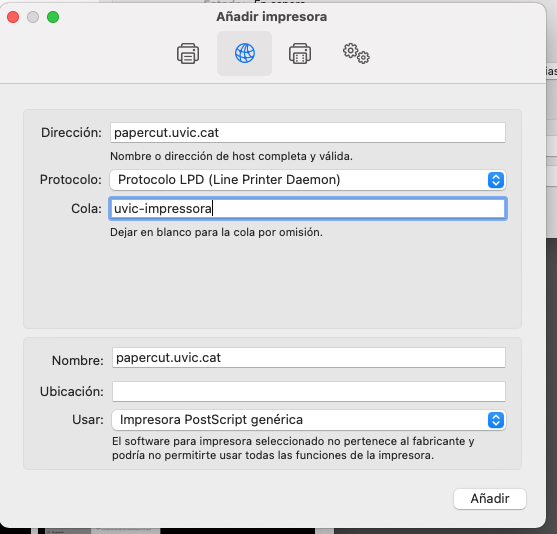
6. In “Address” write “papercut.uvic.cat” and in “Queue” write uvic-impressora
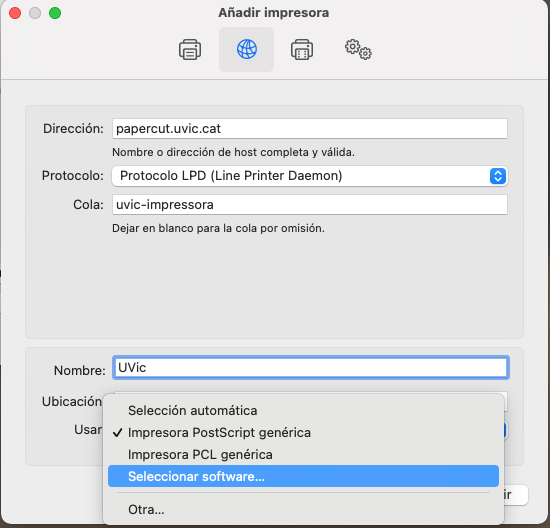
7. In the lower box under “Name” you can put whatever you want to identify the printer. In the “Use” section, choose the “Select Software” option from the drop-down menu and select the “RICOH IM C3000 PS” option
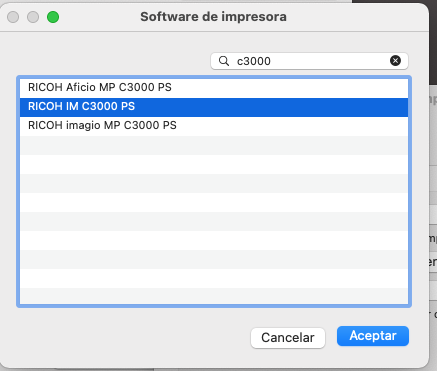
8. The data should look like this, click on “Add” and you will have the printer on your computer

To access the multifunction device you can use any of these five options:
- User and password: UVic e-mail + Virtual Campus password
- User and password: NIUV + Virtual Campus password
- ID number: PIN or the printing portal’s ID
- Linking your phone: using the “Mobile Badge BLE NFC” App. Check how to link it on the “Quick guide to the multifunction device“.
- Space access card: linking the space access card to the printer. Check how to link it on the “Quick guide to the multifunction device“.
Check the “Quick guide to the multifunction device” for more information.
- Miramarges Campus
-
- B Building: 1st floor in front of B136, FCSB Department.
- C Building: 1st floor reception, 1st flor tutoring area, 2nd floor hallway.
- D Building: 1st floor and 2nd floor hallway.
- E Building: 1st floor hallway.
- F Building: F builfing reception, 3rd floor F312 area, 4th floor FEC department, 4th floor print room.
- CESS: Reception area.
- Torre dels Frares
- North Torre: Basement floor Espacio Beta, Ground floor TF reception area, 1st floor laboratories, 2nd floor SART laboratory.
- South Torre: 1st floor SART area, 2nd floor UST secretary’s office, 2nd floor faculty lounge.
- Masía de la Torre dels Frares
- Ground floor reception area.
- 1st floor hallway.
- 1st floor CIFE.
- Casa Convalecencia
- Ground floor service careers
- 1st floor.
- Sports area
- Reception
- Farinera
- Teacher’s lounge